n8n Oracle Cloud: Free Self-Host Setup

Table of Contents
- Introduction
- System Preparation and Setup
- Installing Node.js using NVM
- Setting up PM2 and the n8n Startup Script
- Configuring and Securing NGINX
- Finalizing the Setup and Best Practices
- Frequently Asked Questions (FAQs)
Introduction
If you're looking to set up an automation platform that can connect various tools with ease, n8n might just be the answer. In this guide, we'll walk through how to set up n8n on your own server using Oracle Cloud for a lifetime free tier experience. This post is designed for Ubuntu 22.04 and goes through every step with plenty of details, tables, and code snippets. Even if you are new to self-hosting services, the instructions here are clear and easy to follow.
n8n is a powerful tool that automates workflows, connecting apps and APIs with a simple drag-and-drop interface. The flexibility of self-hosting means you have complete control over your data and customization options. We'll cover everything from logging into your server using SSH, updating Ubuntu, installing necessary packages, through setting up Node.js using NVM (Node Version Manager), to configuring PM2 to ensure your n8n service runs continuously. Lastly, we secure our deployment by setting up NGINX as a reverse proxy and enabling SSL via Certbot.
Let's dive into the world of automation and take control of your processes with n8n!
Quick Start Alternative: If you prefer to skip the self-hosting setup, you can get started immediately with n8n Cloud.
System Preparation and Setup
Before we dive into n8n installation, the first thing you need is access to a server. For this tutorial, I recommend using Oracle Cloud's free tier. Oracle Cloud provides sufficient resources to run a self-hosted n8n, and best of all—it's free for life under certain limits.
1. Login to Your Server
Log into your server from your local machine using an SSH command. Open your Terminal or PowerShell and run:
ssh -i ~/Downloads/n8n-demo-key/ssh-key-2025-07-03.key ubuntu@80.225.122.46
Make sure to replace the path to your SSH key and the IP address with your actual details if they differ. Once you've connected, you're ready to swim in the world of self-hosting.
2. File Permissions
After logging in, secure your SSH key by setting the correct file permissions:
chmod 400 ~/Downloads/n8n-demo-key/ssh-key-2025-07-03.key
This command ensures that no unauthorized users have access to your SSH key. Keeping your keys safe is essential for server security.
3. Update Ubuntu and Install Essential Packages
Keeping your system updated is vital. Run the following commands to update Ubuntu and install essential packages:
sudo apt update && sudo apt upgrade -y && sudo apt install -y \
build-essential \
curl \
wget \
git \
ufw \
ca-certificates \
gnupg \
lsb-release \
software-properties-common
This command does a couple of things:
- It updates the list of available packages.
- It upgrades the installed packages to their latest versions.
- It installs packages that will be useful baseline tools as you set up n8n.
4. System Overview: What You've Installed
Let's take a quick look at what these packages do:
| Package | Description |
|---|---|
| build-essential | A package that installs the essentials for building software. |
| curl & wget | Tools used to transfer data with URLs, handy for downloading. |
| git | Version control system for code management. |
| ufw | Simplified firewall to secure your server. |
| ca-certificates | Ensures your system verifies SSL certificates properly. |
| gnupg | Supports encryption and signing data to ensure authenticity. |
| lsb-release | Displays Linux Standard Base and distribution information. |
| software-properties-common | Allows managing PPAs and software repositories. |
Understanding what each package does helps you troubleshoot and scale your setup later if required.
Installing Node.js using NVM
n8n is a Node.js-based workflow automation tool. This step will guide you through installing Node.js using NVM, which is a convenient tool for managing Node versions on your machine.
1. Install NVM (Node Version Manager)
Execute this command to download and execute the NVM installation script:
curl -o- https://raw.githubusercontent.com/nvm-sh/nvm/v0.39.7/install.sh | bash
After running the script, reload your shell to start using NVM by adding the following commands:
export NVM_DIR="$HOME/.nvm"
source "$NVM_DIR/nvm.sh"
These commands ensure that the current shell recognizes NVM and allows you to manage Node.js installations.
2. Install Node.js v22
Why Node.js version 22? Newer versions often include performance improvements and security updates. Installing Node.js version 22 is as simple as:
nvm install 22
nvm use 22
nvm alias default 22
After these commands, verify the installation by checking the Node.js version:
node -v
You should see a version number printed to your console. This indicates that Node is properly set up.
3. Why Use NVM?
Using NVM allows you to switch between different versions of Node.js with ease. This flexibility is key when using various Node-based applications that might have differing compatibility requirements. You can always revert or try a new version if needed.
Setting up PM2 and the n8n Startup Script
Once Node.js is installed, we need to make sure that n8n runs continuously. Instead of just starting n8n and leaving it hanging on your terminal, we use PM2, a process manager for Node.js applications. PM2 ensures that n8n restarts if it crashes or if your server reboots.
1. Install PM2 Globally
Install PM2 using npm:
npm install -g pm2
After installation, verify PM2 by checking its version:
pm2 -v
Having PM2 in place means you don't have to worry about downtime due to unexpected crashes.
2. Create the n8n Startup Script
For an organized setup, we recommend creating a startup script that loads necessary environment variables and starts n8n. First, install Nano in case it isn't present:
sudo apt install -y nano
Then create a new shell script:
nano ~/start-n8n.sh
Paste the following content into the file:
#!/bin/sh
# Load environment variables from .env file located in ~/.n8n
set -a
. ~/.n8n/.env
set +a

# Run n8n
npx n8n
Make the script executable:
chmod +x ~/start-n8n.sh
This script helps ensure that every time n8n starts, it has access to the required environment variables located in your .env file.
3. Use PM2 to Manage n8n
Now, run the script using PM2:
pm2 start ~/start-n8n.sh --name n8n
pm2 startup
pm2 save
- pm2 start: Launches the script and assigns it a process name "n8n".
- pm2 startup: Configures PM2 to launch at boot.
- pm2 save: Saves the list of processes so they restart automatically after reboot.
4. PM2 and Process Management
Here's a quick table illustrating the main PM2 commands used:
| Command | Description |
|---|---|
| pm2 start | Start a process and assign it a name. |
| pm2 stop | Stop a running process. |
| pm2 restart | Restart a process; handy after making updates. |
| pm2 status | List running and stopped processes. |
| pm2 save | Save the current process list for restarts. |
This systematic approach lets you debug and manage your n8n process with confidence.
Configuring and Securing NGINX
While n8n runs on its own port (5678 by default), it's wise to set up a reverse proxy. NGINX is a great web server option that sits in front of your n8n installation, handling traffic, security, and SSL encryption.
1. Installing NGINX
First, update your package list and install NGINX:
sudo apt update && sudo apt install -y nginx
Then, enable and start NGINX:
sudo systemctl enable nginx
sudo systemctl start nginx
Check the status to confirm it's running:
sudo systemctl status nginx
2. Creating an NGINX Config for n8n
Create a new configuration file for your n8n server:
sudo nano /etc/nginx/sites-available/n8n
Paste the following configuration into the file:
server {
    listen 80;
    server_name your-domain.com;  # Replace with your actual domain

    location / {
        proxy_pass http://localhost:5678;
        proxy_http_version 1.1;
        proxy_set_header Upgrade $http_upgrade;
        proxy_set_header Connection "upgrade";
        proxy_set_header Host $host;
        proxy_set_header X-Real-IP $remote_addr;
        proxy_set_header X-Forwarded-For $proxy_add_x_forwarded_for;
        proxy_set_header X-Forwarded-Proto $scheme;
        proxy_buffering off;
        proxy_cache off;
        chunked_transfer_encoding off;
    }
}
Replace "your-domain.com" with your actual domain name if you have one. Otherwise, you might use your server IP address, but note that SSL configuration might require a domain name.
3. Enabling the NGINX Site
Link the new configuration file to the NGINX sites-enabled directory:
sudo ln -s /etc/nginx/sites-available/n8n /etc/nginx/sites-enabled/
Test the configuration for any syntax errors:
sudo nginx -t
If the test is successful, reload NGINX:
sudo systemctl reload nginx
4. SSL Setup with Certbot for Security
Securing traffic to your workflow automation tool is critical. Use Certbot, which is a client for Let's Encrypt, to automatically obtain and install an SSL certificate.
Install Certbot and NGINX Plugin
sudo apt install -y certbot python3-certbot-nginx
Obtain an SSL Certificate
Run Certbot to obtain a certificate:
sudo certbot --nginx -d your-domain.com
Follow the prompts. Replace "your-domain.com" with your verified domain name. Certbot rewrites your NGINX configuration to handle HTTPS requests.
Enabling Auto-renewal
Certbot sets up a timer for certificate renewal:
sudo systemctl enable certbot.timer
This ensures that your certificate is always renewed before it expires.
Finalizing the Setup and Best Practices
Congratulations on setting up n8n in a self-hosted environment on Oracle Cloud! Let's review some final configurations and best practices to maintain your server securely and efficiently.
1. Configuring IP Tables for Extra Security
Configuring your server firewall is crucial. If you decide to customize IP tables, you may use:
sudo nano /etc/iptables/rules.v4
Within the file, you can set rules to restrict access to crucial ports. For instance, you might allow only certain IP addresses to connect to SSH. After editing, restore the rules:
sudo iptables-restore < /etc/iptables/rules.v4
2. Environment Variables and Security
Make sure your environment variables in the .env file (referenced in your startup script) are secure. Only include necessary parameters, and avoid exposing sensitive information unnecessarily. You might create the file at:
~/.n8n/.env
Here's an example structure:
N8N_BASIC_AUTH_ACTIVE=true
N8N_BASIC_AUTH_USER=yourusername
N8N_BASIC_AUTH_PASSWORD=yourpassword
WEBHOOK_TUNNEL_URL=https://your-domain.com/
Ensure you restrict file permissions:
chmod 600 ~/.n8n/.env
3. Logging and Monitoring
It pays to keep track of your server processes. PM2 offers logging mechanisms that allow you to check the output of your n8n process:
pm2 logs n8n
Regularly check your logs for any unexpected errors. Setting up external monitoring dashboards is a good idea if your n8n workflows become mission-critical.
4. Handling Updates and Changes
As with any self-hosted solution, keep an eye on updates to n8n, Node.js, PM2, and NGINX. When a new version is available, review the change logs and perform updates on a test server first if possible.
5. Backups and Recovery
Since automations can be essential for business operations, create a backup schedule. Store your n8n configurations, environment variables, and any custom scripts in a secure storage solution. A table summarizing key backup steps:
| Backup Item | Frequency | Method |
|---|---|---|
| n8n configuration files | Weekly | Secure remote storage |
| Environment variables | Monthly | Encrypted backup drive |
| PM2 process list | Monthly | pm2 save and version control |
| Custom scripts | After updates | Git repository |
6. Community Support and Resources
Don't forget that you're not alone. The n8n community is active and continually working on enhancements. You can visit the n8n documentation or their GitHub repository for further assistance and community-driven updates.
Remember, while self-hosting gifts you complete control, it comes with a responsibility of managing and securing the server. Regular maintenance, software updates, and monitoring are keys to a smooth-running system.
7. Real-world Use Cases
It might help to consider a few examples of what you can achieve with n8n:
- Automate social media posting by connecting Twitter, Facebook, or LinkedIn APIs.
- Integrate data from different sources for marketing analysis.
- Create complex workflows that trigger on events, such as email arrivals or changes in a database.
- Connect AI services to automate repetitive tasks—an insight which shows the versatility of n8n.
These workflows can be as simple or as complex as you need them to be. With a secure and properly configured setup, you can ensure that your automation processes remain robust and reliable.
8. Troubleshooting Tips
While everything might work perfectly on the first attempt, you could run into hitches. Here are some tips:
- If your n8n service does not start, check the PM2 logs using "pm2 logs n8n".
- Verify that your domain is correctly pointed to your server IP if you're using SSL.
- Use "sudo nginx -t" to test your NGINX configuration after each change.
- Restart relevant services after making major changes. For example, "sudo systemctl restart nginx" after altering its config.
- Check that your firewall isn't blocking critical ports.
9. Helpful Links
Below is a table with some helpful references you might want to visit for more details:
| Resource | Link |
|---|---|
| Official n8n Documentation | https://docs.n8n.io/ |
| PM2 Process Manager | https://pm2.keymetrics.io/ |
| NGINX Official Site | https://www.nginx.com/ |
| Certbot (Let's Encrypt) | https://certbot.eff.org/ |
| Oracle Cloud Free Tier | https://www.oracle.com/cloud/free/ |
These resources will keep you informed of best practices and updates to the respective software.
Conclusion
Setting up a self-hosted n8n on Oracle Cloud is both an invigorating and educational journey that imparts complete control over automation workflows. By carefully preparing your server, installing key packages, managing Node.js with NVM, and ensuring a continuous process with PM2, you build a solid foundation. Adding NGINX into the mix, along with automated SSL through Certbot, seals your setup with enhanced security and efficiency.
This guide has walked you through every step, providing clear code blocks, tables to summarize points, and troubleshooting tips to handle any hiccups. The world of automation is only as strong as its security and reliability; following these steps ensures you reap the benefits while minimizing downtime and risk.
Feel empowered to customize and expand on this base setup as your needs evolve. Whether you're automating social media tasks, connecting valuable data from various sources, or integrating sophisticated AI workflows, n8n offers the flexibility to tailor processes to your business or personal needs.
Remember, self-hosting empowers you with ownership, but it also requires a hands-on approach to maintenance. Stay updated with new versions, explore community forums, and continuously back up your critical configurations—this is the recipe for a robust automation environment.
Happy automating, and may your workflows be ever smooth and secure!
Frequently asked questions
Quick answers on the topics covered in this article.
If n8n stops, first check PM2 logs using: pm2 logs n8n This command provides insights into errors. Additionally, verify that Node.js, n8n, and your environment variables are correctly set up. If needed, refer to n8n's troubleshooting guide for additional tips.
Using PM2 ensures that n8n restarts automatically if it crashes, minimizes downtime, and handles process management efficiently. It also aids in monitoring logs and performance. The commands (start, stop, restart, save) make it easy to manage the overall process. Learn more about PM2 here.
Absolutely. Your environment variables should be stored in a secure location, ideally in a .env file that PM2 loads during startup. Customize authentication mechanisms by modifying variables like N8N_BASIC_AUTH_ACTIVE, N8N_BASIC_AUTH_USER, and N8N_BASIC_AUTH_PASSWORD. Remember to restrict file access with permissions and avoid exposing sensitive information. For a detailed guide on environment variables, check the n8n Configuration Docs.
To update n8n safely:
- Stop the n8n process with
pm2 stop n8n. - Run
npm install -g n8n(or your preferred install method). - Restart with
pm2 start n8nor your startup script. - Always back up your workflows and environment variables before upgrading.
Check that your domain points to your server and port 80/443 are open. Run sudo certbot renew --dry-run to test renewal. Review Certbot logs in /var/log/letsencrypt/ for errors. If needed, manually re-issue with sudo certbot --nginx -d your-domain.com.
- Back up your
.n8ndirectory (workflows, credentials, .env). - Set up the new server following this guide.
- Restore the
.n8ndirectory and environment files. - Start n8n with PM2 and verify all workflows.
- Enable basic auth via environment variables (
N8N_BASIC_AUTH_ACTIVE=true). - Use a firewall (UFW) to allow only trusted IPs.
- Consider running n8n behind a VPN or allow access only from specific networks.
- Use a cron job to regularly copy the
.n8ndirectory to remote/cloud storage. - Store encrypted backups offsite.
- Test restoring from backup periodically to ensure reliability.
- Use n8n's built-in error workflow feature to trigger notifications (e.g., email, Slack) on failure.
- Regularly check PM2 and n8n logs for errors.
- Integrate with external monitoring tools for advanced alerting.
Yes, but each must use a different port and separate .n8n directories. Adjust your PM2 scripts and NGINX config accordingly. Ensure your server has enough resources for multiple instances.
You can use Oracle Cloud's "Always Free" tier, which provides a free virtual machine (VM) suitable for running n8n. Sign up for an Oracle Cloud account, create an "Always Free" VM (such as the Ampere A1 or eligible x86 instance), and follow this guide to set up Ubuntu, Node.js, PM2, and n8n. As long as you stay within the free tier resource limits, your server and n8n instance will remain free. Be sure to monitor your usage to avoid incurring charges, and check Oracle's documentation for the latest free tier offerings and eligibility.
Share this article
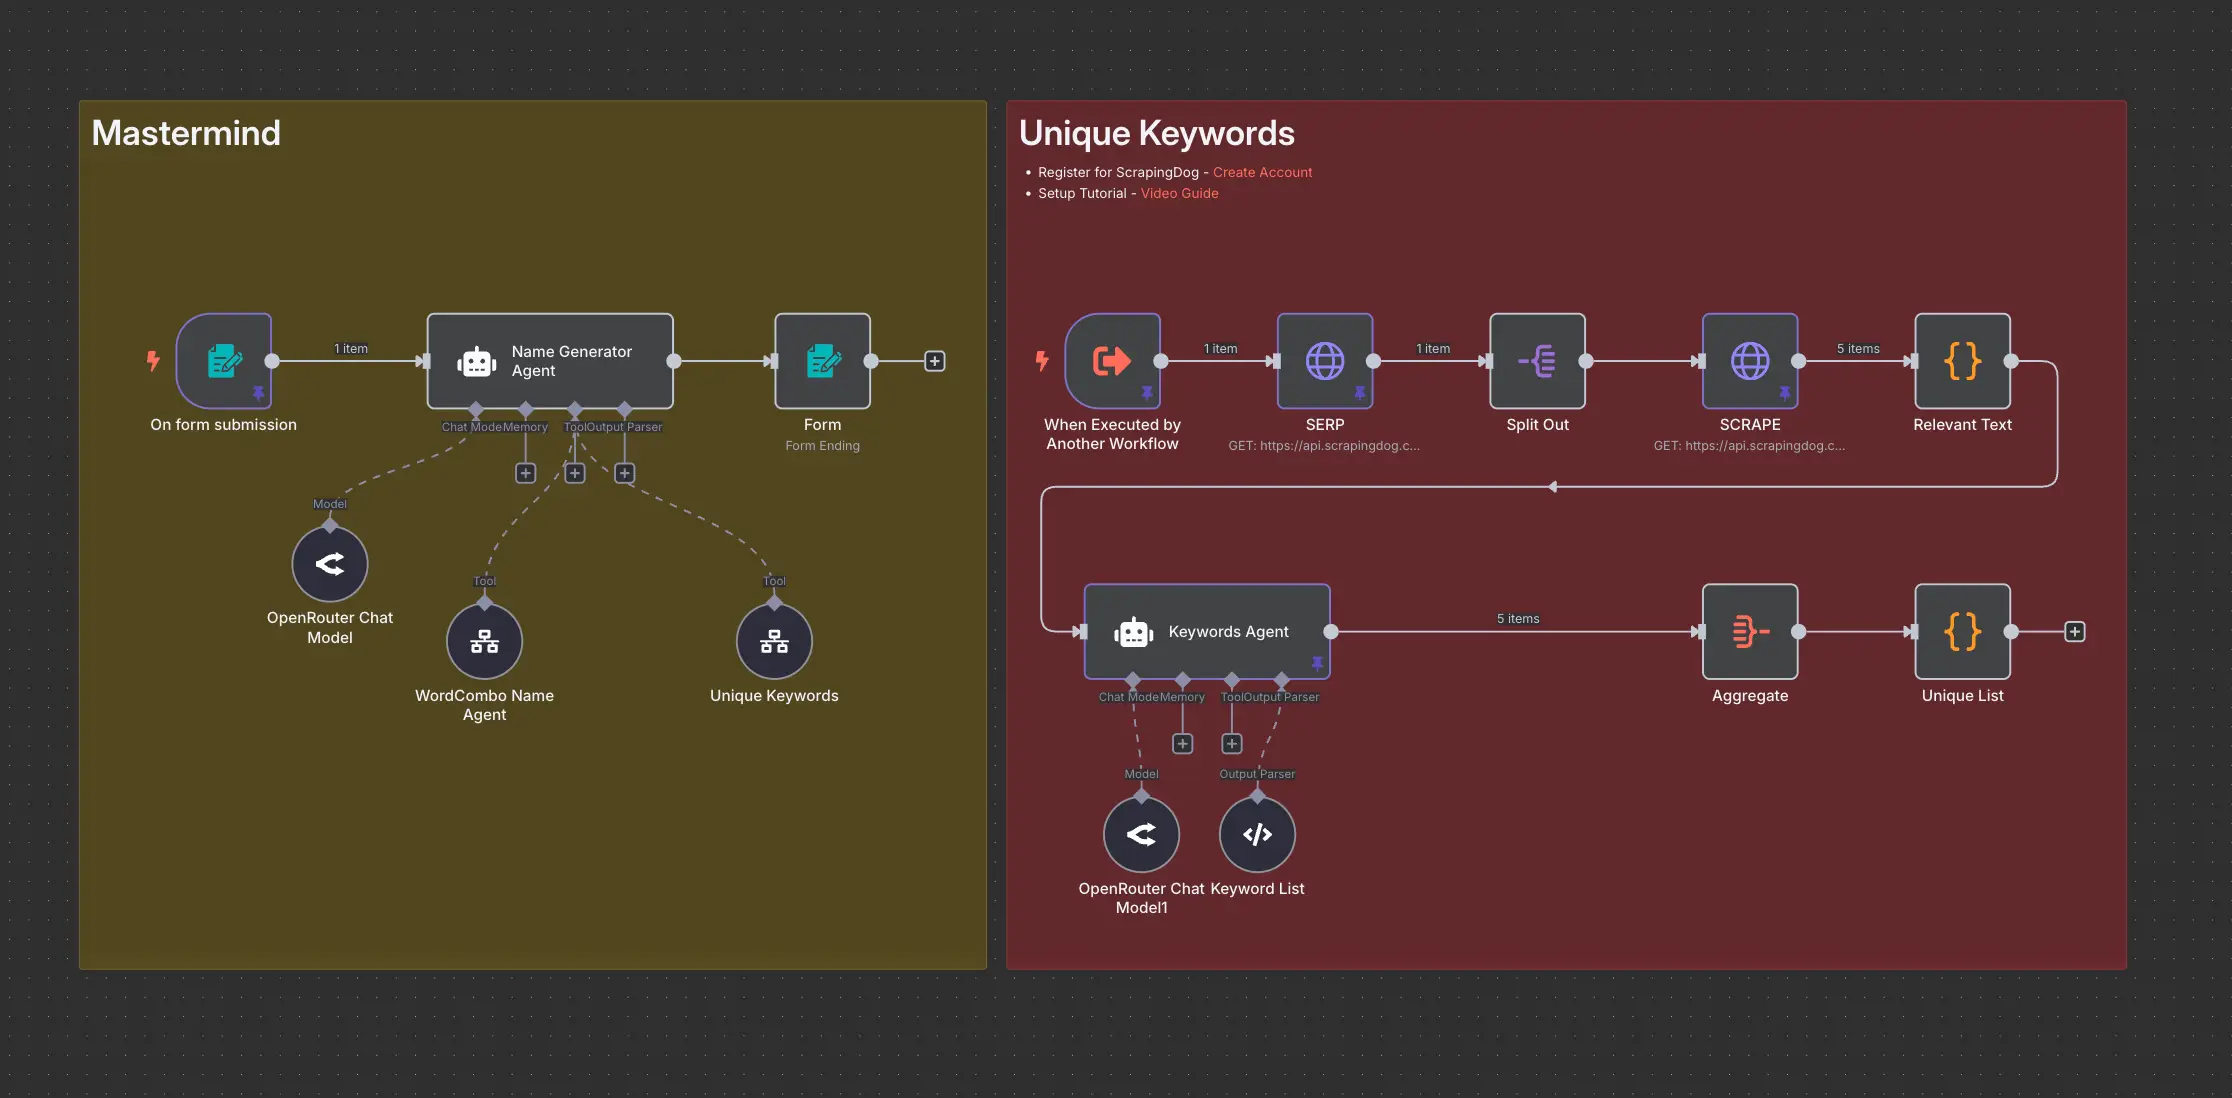
Related workflows
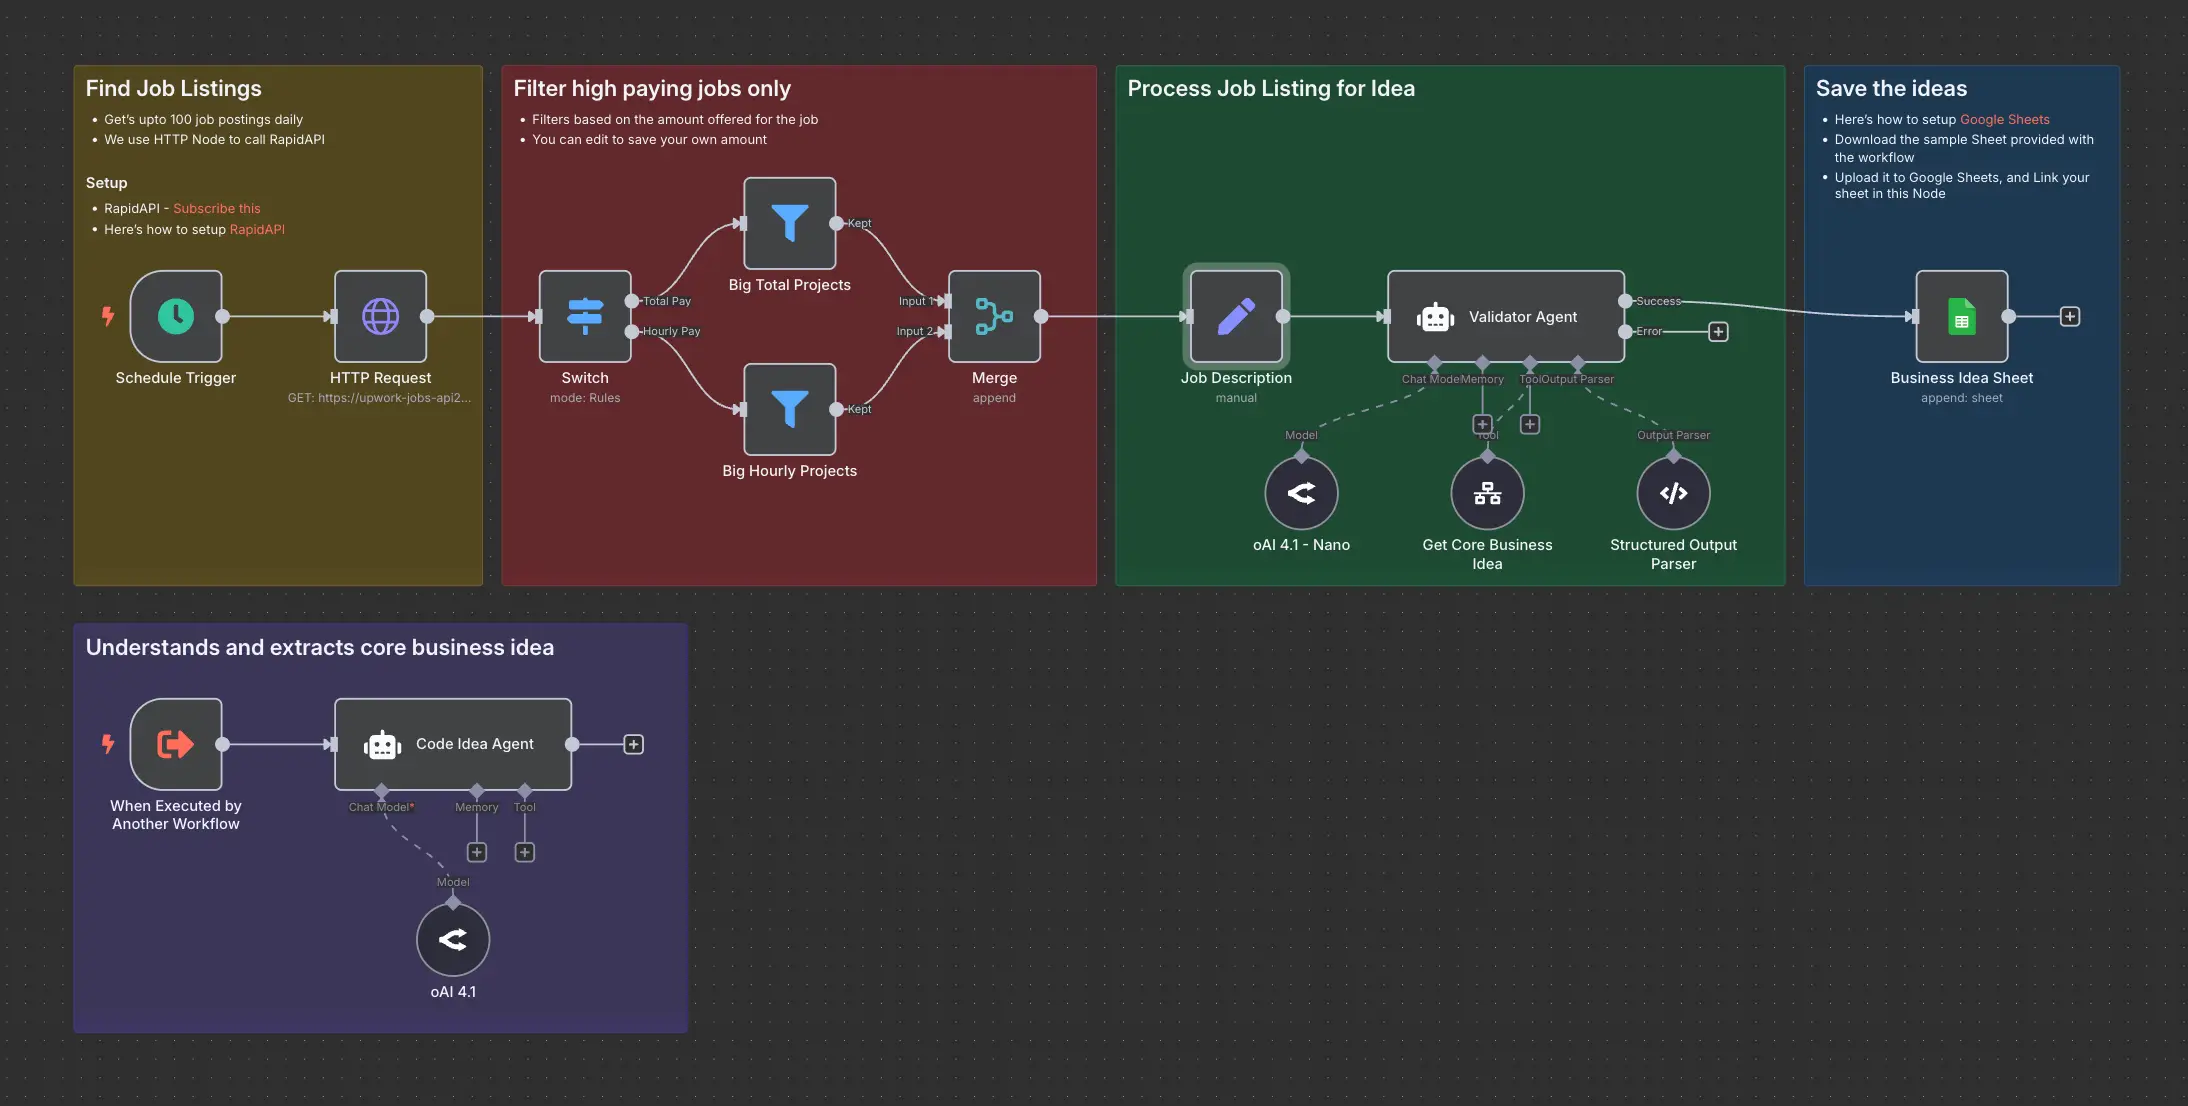
Daily Validated Business Ideas using n8n and Upwork

Deep Research using n8n automation to generate report using Tavily