n8n AI Automation: Beginner Guide 2025
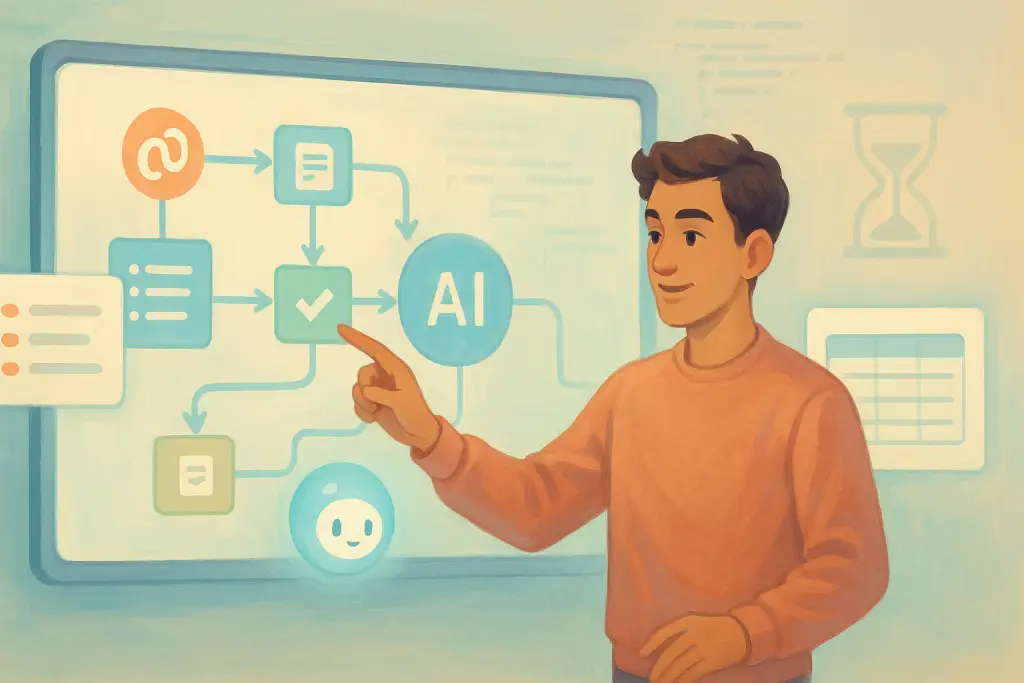

Table of Contents
- Introduction
- What is n8n and Why It Matters
- Key Features and Capabilities
- Setting Up n8n: Cloud vs. Self-Hosting
- Navigating the n8n Editor UI
- Understanding Nodes, Workflows, and Data Flow
- Integrating AI into Your Workflows
- Building Your First Workflow: A Step-by-Step Guide
- Advanced Use Cases and Practical Examples
- Troubleshooting and Best Practices
- Conclusion
- Frequently Asked Questions (FAQs)
Introduction
In 2025, automation continues to transform how companies manage repetitive tasks and data-driven processes. For beginners in no-code automation, n8n stands out as a robust tool that not only connects various apps and services but also offers native AI support to streamline operations. In this guide, I will walk you through the fundamentals of setting up and using n8n for automating workflows, and how AI plays a role in making processes smarter and more efficient. Even if you have little to no coding experience, you will find that n8n's visual interface and clear logic make it easy to start automating tasks.
The aim here is to demystify the basics of n8n and help you build confidence in designing your very own workflows. We'll cover everything from setup options to advanced integration tips, sprinkled with examples and handy lists to keep the details digestible. Let's get started with an overview of what n8n is all about.
What is n8n and Why It Matters
n8n is a fair-code workflow automation tool that is quickly gaining popularity among both beginners and industry professionals. Its primary goal is to automate repetitive tasks by connecting different applications and services with ease. You can think of it as a digital glue that binds different systems together without the need for extensive code.
The Core Idea Behind n8n
At its heart, n8n uses nodes, which are the basic blocks that represent different steps in a process. Each node performs a specific function—a trigger, an action, or data transformation—and connecting them forms a workflow. This modular design means you can create workflows for a wide range of tasks, from simple data backups to complex business processes that involve multiple applications.
Why Use n8n?
There are several compelling reasons to use n8n:
- Simplicity for Beginners: With its graphical interface, n8n makes it easy for non-technical users to create automated workflows.
- Cost-Effective: Unlike some popular automation platforms, n8n is free or very affordable, especially if you opt for self-hosting.
- Customizability: The platform supports custom code for those who want to add more complexity to their workflows.
- Data Control: If privacy is a concern, self-hosting n8n gives you complete control over your data.
- Native AI Integration: In 2025, n8n shines by incorporating AI capabilities to make workflows adaptive and intelligent.
In essence, n8n bridges the gap between manual processes and full automation, making day-to-day tasks simpler and more efficient. Moreover, as AI becomes more prevalent in automating decision-making, n8n is ready to support intelligent workflows that can learn and adjust over time.
Key Features and Capabilities
To understand what makes n8n a formidable tool in the automation space, let's break down some of its core features and capabilities.
Visual Workflow Builder
The visual workflow builder allows you to design your automation in a drag-and-drop environment. This means you can see your entire process at a glance, rearrange steps easily, and quickly troubleshoot if something doesn't work as expected.
Over 400 Integrations
n8n integrates with a wide range of apps—from popular services like Google Sheets, Slack, and Notion to specialized APIs. You can connect multiple services with minimal fuss, enabling data exchange across platforms.
Native AI Support
AI is no longer an add-on; it's central to how work is done. With native AI support in n8n:
- You can integrate AI-powered nodes to analyze data.
- Use AI to trigger decisions within a workflow.
- Enhance your workflow automation by combining traditional triggers with intelligent insights.
Self-Hosting or Cloud Options
Depending on your technical expertise and data security needs, n8n offers two deployment options:
- n8n Cloud: Managed by the developers, this option allows you to avoid the complexities of server management.
- Self-Hosting: This option gives you full control, which is ideal for companies with strict data governance policies.
Custom Code Nodes
While the no-code interface is ideal for beginners, n8n also provides the ability to insert custom JavaScript or Python directly into your workflows. This flexibility means that when you need to tweak a process, you are not boxed in by a preset configuration.
Data Transformation and Conditional Logic
Nodes can be configured to perform complex operations like data filtering, merging, and conditional logic. This enables workflows to handle intricate processes that depend on real-time decisions and multiple data sources.
A Quick Comparison Table
Below is a simple table to compare n8n with other popular automation platforms:
| Feature | n8n | Platform A | Platform B |
|---|---|---|---|
| No-Code Visual Builder | Yes | Yes | Partial |
| Integrations (approx.) | 400+ | 300+ | 250+ |
| Custom Code Support | JavaScript/Python | JavaScript only | No |
| Self-Hosting Option | Yes | Limited | No |
| Native AI Integration | Yes | No | No |
| Open Source | Fair-code | Proprietary | Proprietary |
This table illustrates why many choose n8n for both its flexibility and its future-ready features, especially as AI becomes more integrated into everyday tasks.
Setting Up n8n: Cloud vs. Self-Hosting
One of the crucial choices you'll face when starting with n8n is deciding between a cloud-based or self-hosted installation. Both have distinct advantages.
n8n Cloud
The cloud option is perfect if you want to get started quickly without dealing with server configurations. Here's how you can get going:
- Visit the n8n Cloud website and sign up for an account.
- Follow the sign-up wizard which walks you through the initial setup.
- Log in to the editor UI and begin creating your workflows immediately.
Advantages:
- No need to manage infrastructure.
- Accessible from any device with internet.
- Enterprise features like single sign-on (SSO) are often available.
Disadvantages:
- Dependent on an internet connection.
- Less control over data storage and security.
Self-Hosting n8n
If you prefer full control over your automation processes, self-hosting might be the best choice. Here's a basic guide on self-hosting:
- Install Docker on your machine. Docker is a popular containerization platform that simplifies the installation process.
- Follow the n8n Docker documentation to set up the container.
- Alternatively, use npm if you're comfortable with Node.js setups.
- Configure your local server's security settings to protect your data.
Advantages:
- Complete control over your data.
- Customization of server settings to meet specific security requirements.
- No vendor lock-in, with greater flexibility in scaling.
Disadvantages:
- Requires technical knowledge of server management.
- You must handle updates and security patches yourself.
- Initial setup might take longer compared to the cloud option.
In summary, if you're just dipping your toes into workflow automation, n8n Cloud offers simplicity and rapid deployment. For those with a more technical background and stringent data security needs, self-hosting provides greater flexibility at the expense of additional management effort.
Navigating the n8n Editor UI
Once you have n8n up and running, the next step is familiarizing yourself with its Editor UI. This is where most of your workflow creation and management happen.
The Layout
The editor is divided into a few key sections:
-
Left-Side Panel
- Overview: Displays all your workflows.
- Templates: Offers pre-built workflows as examples.
- Credentials: Manage your API keys and authentication settings.
- Executions: See the history of your workflow runs.
- Help & Settings: Access documentation, support, and system settings.
-
Top Bar
- This section shows the workflow's name.
- It provides options for saving, sharing, and tagging your workflow.
- A convenient "Execute Workflow" button lets you run your automation for testing.
-
The Canvas
- The canvas is the primary workspace where you drag and drop nodes.
- You can rearrange nodes, draw connections between them, and visually see your workflow logic.
- It lets you zoom in/out and navigate large workflows with ease.
A Practical Tip
Beginners can benefit from exploring pre-made workflow templates in the Templates section. These templates are a great way to see how nodes are interconnected and how data flows from one node to another.
Understanding Nodes, Workflows, and Data Flow
Workflows are the backbone of n8n. They represent a series of tasks that the automation engine performs one after the other. Each task is a node, and nodes are connected in a way that data flows smoothly.
Nodes: The Building Blocks
Nodes in n8n come in different types:
-
Trigger Nodes:
Examples include:- Manual Trigger: Start the workflow manually.
- Cron Trigger: Execute tasks at predefined intervals.
- Webhook Trigger: Activate workflows through HTTP requests.
-
Action Nodes:
Carry out specific actions such as:- Sending emails using Gmail.
- Updating a record in a database.
- Posting messages on social media.
-
Core Nodes:
Handle data processing and logical branching:- If Node: Implements true/false conditions.
- Switch Node: Routes data through multiple branches based on conditions.
- Merge Node: Combines data from different branches.
-
Custom Code Nodes:
For situations where you need to write custom scripts, allowing you to extend n8n's functionality using JavaScript or Python.
Data Flow in n8n
Data passed between nodes is commonly formatted in JSON. This helps ensure consistency regardless of the data source. When working with data, you can view it in three main formats:
- Table View: A neat, tabular display that's easy to read.
- Raw JSON: Useful for troubleshooting and debugging.
- Schema View: Offers a visual representation of the data structure.
Consider a simple example: if you use a node to fetch data from an API, the output might look like this:
| Field | Type | Description |
|---|---|---|
| id | Number | Unique identifier |
| name | Text | Name of the item |
| createdAt | Date | When the item was created |
This tabular view can help you understand what data is available for further processing. As you connect nodes, the flow of data from one step to the next should be seamless, allowing you to build complex workflows without getting lost in the details.
Integrating AI into Your Workflows
As automation evolves, integrating AI has become essential for creating smarter, more responsive workflows. n8n's native AI support opens new doors for both simple and complex use cases.
Why AI in Workflow Automation?
Think of AI as the brain behind deeper insights:
- Data Analysis: Use AI to analyze trends or predict outcomes.
- Natural Language Processing: Automate text summarization and content generation.
- Smart Triggers: Create conditions that adapt based on learned data patterns.
- Decision Support: Enhance your automation by allowing the workflow to decide between multiple paths based on AI analysis.
How to Integrate AI in n8n
Here are some practical suggestions:
-
AI Node Integration:
Some workflows feature dedicated AI nodes that can send text or data to an external AI service. For example, you might have an AI node analyze customer feedback that fires off once a new survey response is received. -
Custom Code and API Calls:
If there isn't an AI node that fits your needs, you can use custom code to interface with popular AI platforms like OpenAI. Use HTTP Request nodes to call the API and process the response in subsequent nodes. -
Hybrid Workflows:
Often, you may combine traditional nodes (e.g., email or database operations) with AI nodes to create hybrid workflows. For instance, an AI node could summarize long documents before storing the summary in a database.
Below is an example of a simple AI-enhanced workflow:
- Step 1: Use a Webhook Trigger to start the workflow when a new email arrives.
- Step 2: Pass the email content through an AI Node configured to summarize text.
- Step 3: Use a Database Node to store the summary for future analysis.
- Step 4: Send a notification via a Chat Node to inform a team member that new summarized data is ready.
Case Study: Customer Feedback Analysis
Imagine a scenario where a business wants to automatically analyze customer feedback emails. The workflow would:
- Trigger on each new email.
- Use an AI node to extract sentiment or key points.
- Store the processed data in a Google Sheet or a CRM system.
- Notify the support team if critical issues are detected.
This capability not only saves time but also ensures that human resources can focus on more pressing tasks while AI handles routine analysis.
Building Your First Workflow: A Step-by-Step Guide
Let's walk through creating your first simple workflow in n8n that integrates an AI element. This is aimed at beginners who want to see a practical demonstration.
Step 1: Access the Editor UI
After signing in (either via the cloud or your self-hosted instance), you'll find the Editor UI. Here you can create a new workflow by clicking on "Create Workflow."
Step 2: Add a Trigger Node
- Click the "+" button to add a node.
- Select the Manual Trigger node to start.
- This node lets you run the workflow manually as you test it.
Step 3: Insert an AI Node
Assuming you have an AI API set up:
- Use an HTTP Request node configured to send data to your AI service.
- Fill in the required endpoint and authentication details.
- Configure the node to pass along the text you want to be analyzed (for instance, a paragraph from an email).
Step 4: Connect a Data Storage Node
Next, add a node to store the processed data:
- Use a Google Sheets or Notion node.
- Map the output from the AI node (such as a summarized text or sentiment score) to the appropriate fields in your storage solution.
Step 5: Test and Execute
Before finalizing, click Execute Workflow:
- Observe each node's output.
- Check the logs and data previews to ensure that the AI node is returning expected results.
- Adjust node parameters if necessary.
Step 6: Save and Deploy
Once everything looks good:
- Save your workflow.
- Deploy it by setting it to active.
- If using a scheduled trigger (like Cron), configure it to run at specific intervals.
Visual Overview – A Workflow Diagram
Below is a simplified diagram representing the workflow:
| Manual Trigger --> HTTP Request (AI Node) |
              |
              v
    --------------------
    | Google Sheets/   |
    | Notion Storage   |
    --------------------
This diagram shows a straightforward setup where data flows seamlessly through each step.
Advanced Use Cases and Practical Examples
As you get comfortable with n8n, you'll want to explore more advanced workflows. Here are some practical examples that combine n8n's automation abilities with AI.
Example 1: Social Media Sentiment Analysis
- Objective: Automatically analyze customer sentiment on social media.
- Workflow Steps:
- Trigger using a Webhook Node when a new tweet or post is received.
- Pass text data to an AI Node that calculates sentiment.
- If the sentiment score dips below a certain threshold (using an If Node), send an alert via Email or Slack.
- Log details in a Database Node for historical analysis.
Example 2: Dynamic Email Responder
- Objective: Create a workflow that responds to incoming emails using dynamic content generated by AI.
- Workflow Steps:
- Use an Email Trigger Node to detect new emails.
- Pass the email's body through an AI Node to generate a contextual response.
- Return the response using an Email Node to send out a reply.
- Store the email thread and AI-generated response in Notion or a similar tool.
Example 3: Automated Reporting and Dashboards
- Objective: Build an automated reporting solution where data is summarized and visualized.
- Workflow Steps:
- Use a Cron Node to trigger at set intervals.
- Pull data from multiple sources using various API Nodes.
- Process and summarize data through a combination of Function Nodes and AI Nodes.
- Update a live dashboard with new data using Google Data Studio integration or a similar service.
- Email the dashboard summary to key stakeholders.
A Real-Life Scenario
Consider a small business that receives daily customer feedback via email. Instead of manually reading and categorizing each response, the business implements an n8n workflow:
- Emails trigger the workflow.
- An AI node categorizes feedback into positive, negative, or neutral.
- Data is stored in a Google Sheet.
- A daily report is generated and emailed to the customer service manager.
This not only reduces manual work but ensures timely insights that can drive action.
Troubleshooting and Best Practices
When working with any automation tool, occasional glitches or errors are part of the journey. Here are some troubleshooting tips and best practices to keep your workflows running smoothly.
Common Troubleshooting Steps
-
Check Node Outputs:
Always look at the output data of a node. Use the Table or JSON view to verify that data is being passed correctly. -
Review Credentials:
Verify that API keys and credentials are current. Misconfigured credentials are a common source of errors. -
Test Each Node Individually:
If a workflow fails, test nodes one by one. This helps isolate the problem area. -
Utilize Logs and Documentation:
n8n offers log files and detailed documentation. Don't hesitate to refer to the n8n Docs if you hit a snag.
Best Practices
-
Start Simple:
Begin with basic workflows before integrating advanced AI nodes. Gradually add complexity once you're comfortable with the fundamentals. -
Document Your Workflow:
Use annotation features in the Editor UI. This helps you and others understand why certain steps are included. -
Secure Your Credentials:
Always store your API keys securely. Ensure sensitive information is encrypted and access is limited. -
Regularly Update Your n8n Instance:
For self-hosted versions, apply updates regularly to benefit from new features and security patches. -
Leverage Community Resources:
The n8n Community Forum is an excellent resource for troubleshooting tips, workflow examples, and support.
Conclusion
n8n offers a powerful platform for automating workflows, even if you are new to digital automation. With its visual interface, flexible nodes, and integrated AI capabilities, it brings professional-grade automation within reach of beginners. Whether you choose to use the hosted cloud version or opt to self-host for more control, n8n is easy to learn and capable of handling a wide range of tasks.
I hope this guide has provided you with a clear roadmap for starting your automation journey. Remember, the key is to experiment and learn progressively. As you become more familiar with the tool, you can build increasingly complex workflows that not only save time but also offer smart, adaptive responses to the dynamic needs of 2025's business landscape.
Happy automating!
I trust that this detailed guide on n8n basics, enriched with AI integration tips, tables, lists, and real-world examples, offers a clear path for beginners in 2025. Enjoy exploring the world of automation and let n8n be the starting point of your productive journey!
In addition to the information above, you can explore resources on n8n's website.
Frequently asked questions
Quick answers on the topics covered in this article.
n8n is an open-source workflow automation tool that connects various apps and services. It benefits beginners by offering a no-code visual interface and advanced users with custom code options, allowing everyone from small business owners to enterprise teams to automate repetitive tasks and integrate AI into routine processes.
Begin by collecting the necessary API keys for X, OpenAI (GPT-4), LinkedIn, and Google Sheets. Follow the detailed setup steps in this guide and test the workflow thoroughly. For more hands-on examples, check out resources on n8n's website.
Yes, n8n supports native AI integration. You can use dedicated AI nodes or configure custom HTTP Request nodes that call external AI APIs. This makes it possible to analyze data, generate dynamic content, and implement smart decision-making processes within your workflows.
The decision depends on your needs. n8n Cloud is excellent for those who want a quick, hands-off setup without managing servers. In contrast, self-hosting is ideal if you want complete control over your data and infrastructure. For beginners, n8n Cloud often provides a simpler, faster start.
Share this article
Related workflows
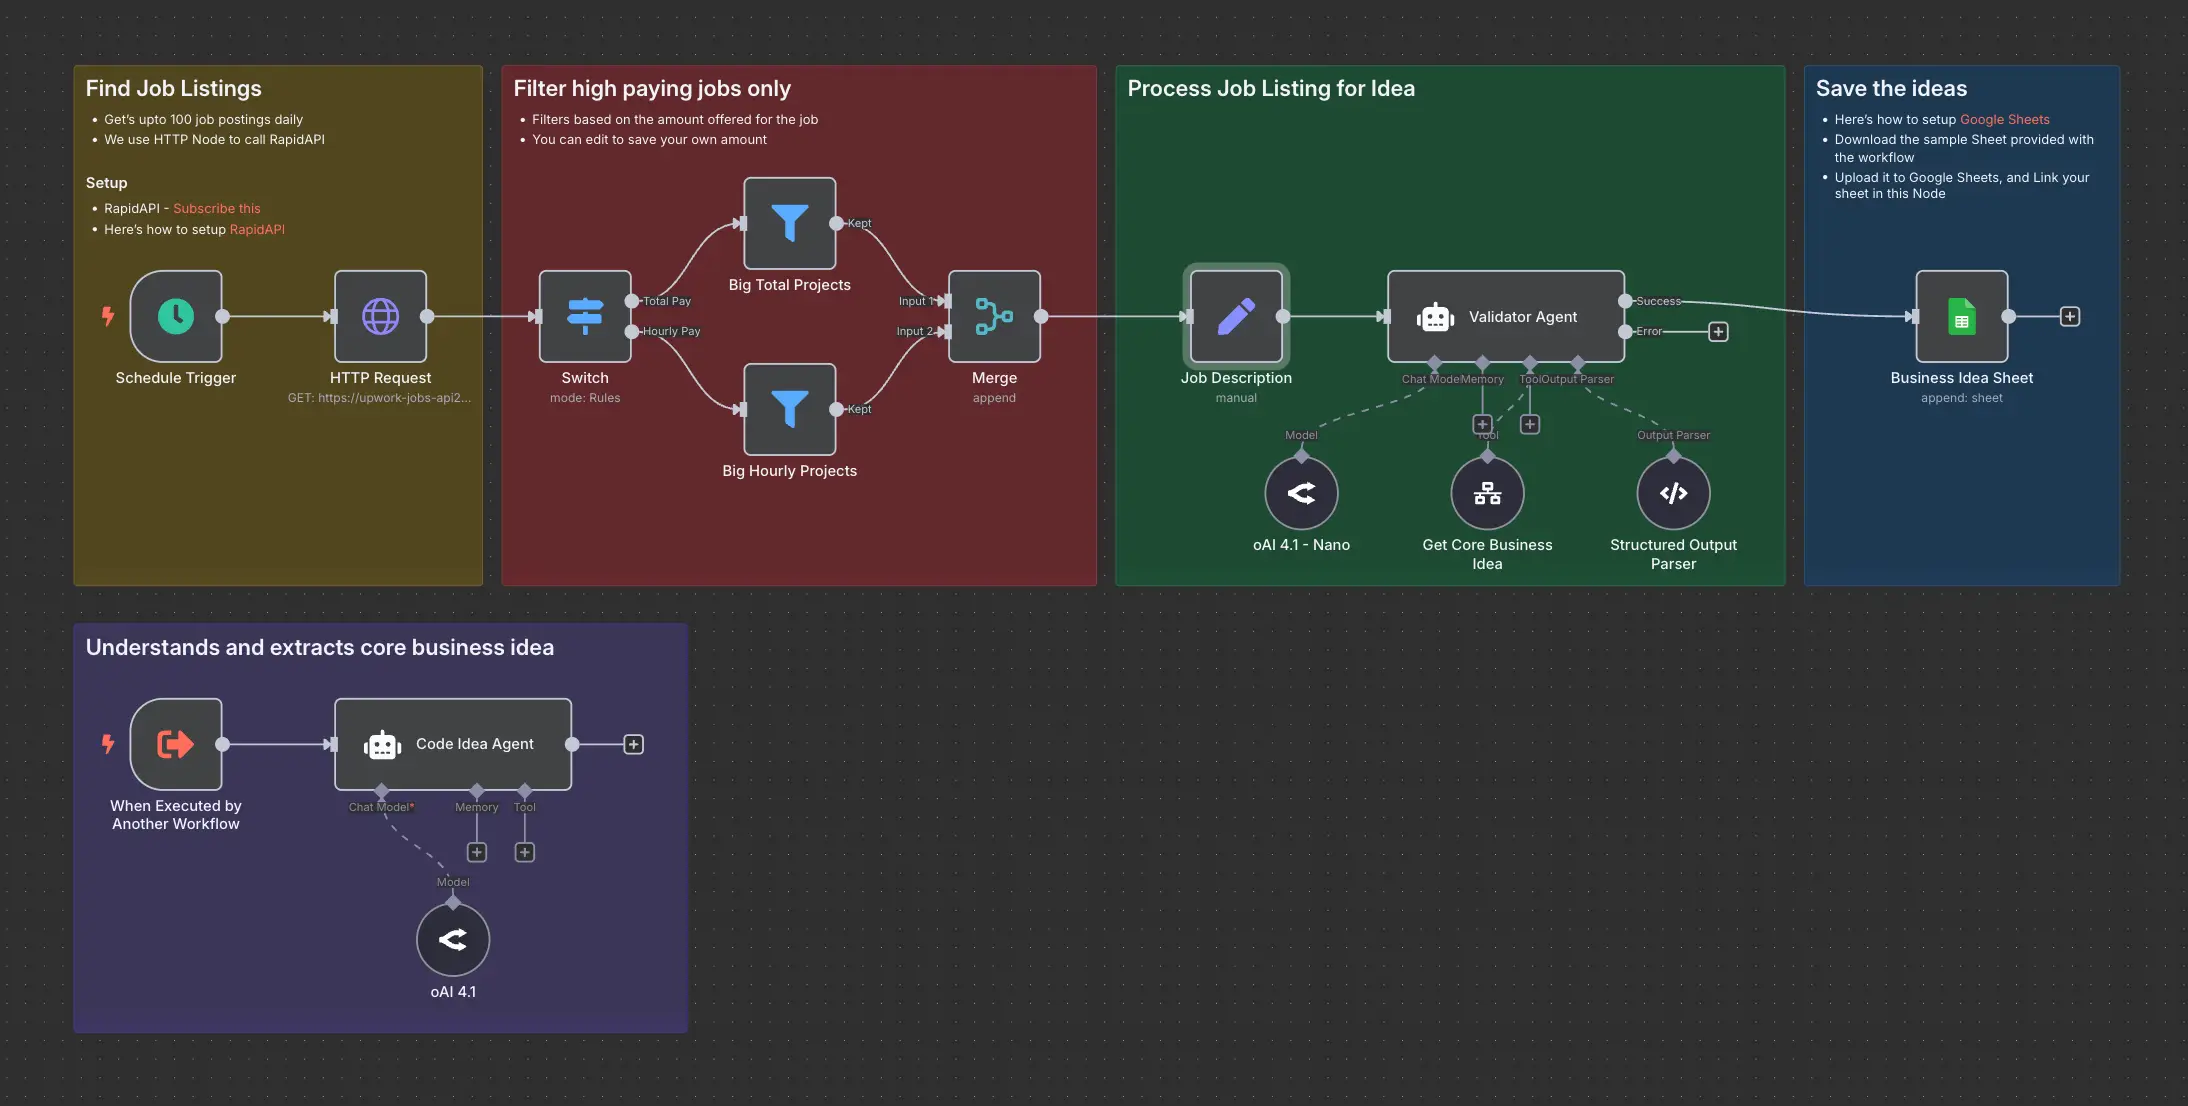
Daily Validated Business Ideas using n8n and Upwork

Deep Research using n8n automation to generate report using Tavily